How to Install a Kitchen Backsplash Like a Pro
Installing a kitchen backsplash may seem intimidating, but with the right preparation and tools, it’s a project you can tackle with confidence. Whether you’re adding a tile, stone, or patterned backsplash, following professional steps ensures a clean, polished finish that enhances your kitchen’s design. This guide will walk you through how to install a backsplash like a pro.
Step 1: Gather Your Tools and Materials
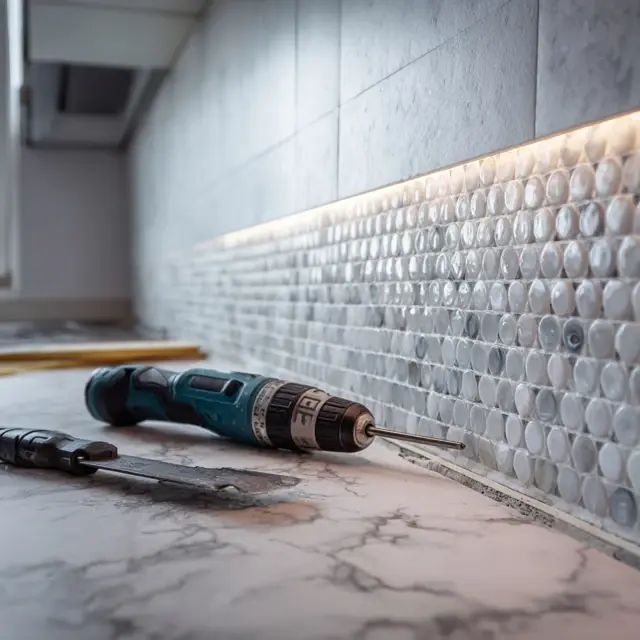
Having the right tools makes the installation smoother and more professional. Common materials include:
- Tiles or panels of your chosen backsplash material
- Tile adhesive or thin-set mortar
- Notched trowel
- Tile spacers
- Level and measuring tape
- Tile cutter or wet saw
- Grout and grout float
- Sponge and bucket of water
Step 2: Prepare the Surface
Before installation, ensure the wall surface is clean, dry, and smooth. Remove old backsplash materials or debris, patch any holes, and lightly sand glossy paint so the adhesive bonds properly.
Step 3: Plan Your Layout
Measure the backsplash area carefully and plan your tile layout. Start at the center and work outward to ensure even cuts at the edges. Dry-lay a few tiles to visualize spacing and alignment before applying adhesive.
Step 4: Apply the Adhesive
Spread tile adhesive or mortar with a notched trowel, working in small sections to prevent drying before tiles are set. Apply adhesive evenly to create a strong bond.
Step 5: Install the Tiles
Place tiles firmly into the adhesive, using spacers to maintain even grout lines. Press gently but firmly, and use a level to check alignment as you go. Cut tiles as needed for edges or around outlets.
Step 6: Apply Grout
Once the adhesive has cured (typically 24 hours), remove tile spacers and apply grout with a float. Press grout into gaps, then wipe away excess with a damp sponge. Rinse frequently to keep the surface clean.
Step 7: Seal and Finish
Depending on your material, apply a sealant to protect tiles and grout from stains and moisture. Finally, clean the surface thoroughly and reinstall outlet covers or trim for a finished look.
Pro Tips for Success
- Use quality adhesive and grout for a long-lasting backsplash.
- Invest in a wheel tile cutter or wet saw for precise cuts.
- Always start from the most visible area to ensure clean lines.
- Allow adequate drying time before exposing the backsplash to water.
Final Thoughts
Installing a kitchen backsplash doesn’t have to be overwhelming. By preparing properly, using the right tools, and following professional techniques, you can achieve a flawless result that enhances both style and function. For more backsplash design ideas, explore our kitchen backsplash collection and get inspired for your next remodel.


