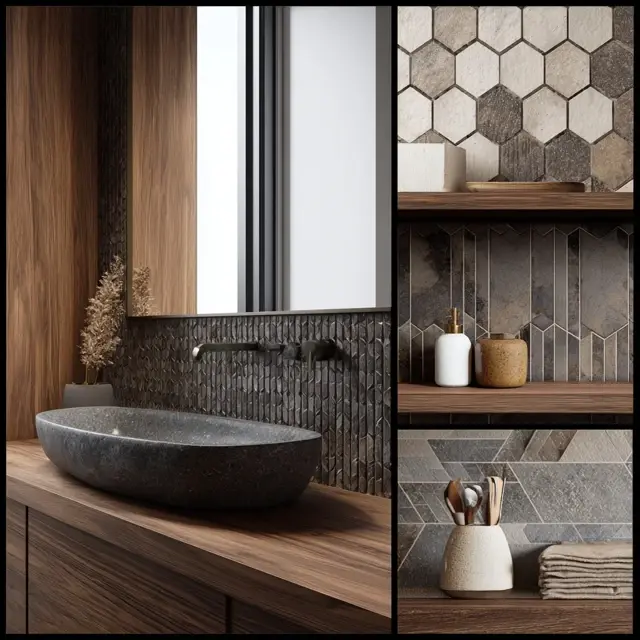
How to Install a Bathroom Backsplash in One Day
A bathroom backsplash is one of the simplest upgrades you can make to refresh your space. The good news is that with the right tools and a clear plan, you can install a backsplash in just one day. Whether you’re tackling this as a DIY project or looking for a quick update before hosting guests, this step-by-step guide will help you achieve professional-looking results.
Why a One-Day Backsplash Installation Works
Backsplashes usually cover smaller areas in bathrooms, making them faster to install than full wall or floor projects. With peel-and-stick tiles or simple ceramic options, installation can be completed in a few hours. Even traditional tile installations can be finished in a single day with proper preparation.
Tools and Materials You’ll Need
- Measuring tape
- Level
- Tile cutter or utility knife
- Tile adhesive or peel-and-stick tiles
- Grout and grout float (for traditional tiles)
- Spacers
- Sponge and bucket
- Protective gloves
Step-by-Step Guide to Installing a Backsplash in One Day
Step 1: Prepare the Surface
Clean the wall thoroughly, removing dust, grease, and any old adhesive. A smooth, dry surface ensures that your backsplash adheres properly. If painting recently, allow the wall to cure before beginning.
Step 2: Measure and Plan
Measure the area and mark guidelines with a level. Planning helps reduce wasted tiles and ensures a symmetrical look. Lay out a few tiles on a flat surface to visualize the pattern.
Step 3: Apply Tiles
For peel-and-stick tiles, simply align and press firmly against the wall. For traditional tiles, spread tile adhesive with a notched trowel, then place tiles using spacers to keep consistent gaps. Work in small sections for accuracy.
Step 4: Cut to Fit
Use a tile cutter or utility knife for smaller adjustments around outlets, corners, or edges. Measure twice before cutting to avoid mistakes.
Step 5: Grout and Finish (if needed)
If using traditional tiles, apply grout with a float and wipe excess with a damp sponge. Peel-and-stick tiles skip this step, saving time. Allow adhesive or grout to set according to manufacturer instructions before using the area.
Tips for Success
- Choose the right materials: Peel-and-stick tiles are the fastest option, while ceramic or porcelain add longevity.
- Work efficiently: Prepare all tools and tiles before starting to streamline the process.
- Use good lighting: Proper lighting ensures precise alignment and helps spot errors early.
- Keep it simple: Stick to straightforward patterns like horizontal or vertical layouts for faster installation.
Final Thoughts
Installing a bathroom backsplash in one day is completely achievable with the right approach. Whether you opt for peel-and-stick convenience or traditional tiles, this upgrade adds instant charm and protection to your bathroom walls. For more design inspiration, explore our bathroom backsplash trends guide to pair your quick installation with stylish choices that last.
